📥 File Requests
While share links let you send documents out, File Requests let you collect documents in. Create a secure upload link, send it to an external user, and receive their files directly into your DocTrack library — no account required on their end.

💡 When to Use File Requests
- 📁 Client onboarding — collect contracts, IDs, or signed forms.
- 🤝 Due diligence — gather documents from counterparties.
- 🧾 Submissions — receive files from vendors, applicants, or partners.
➕ Creating a File Request
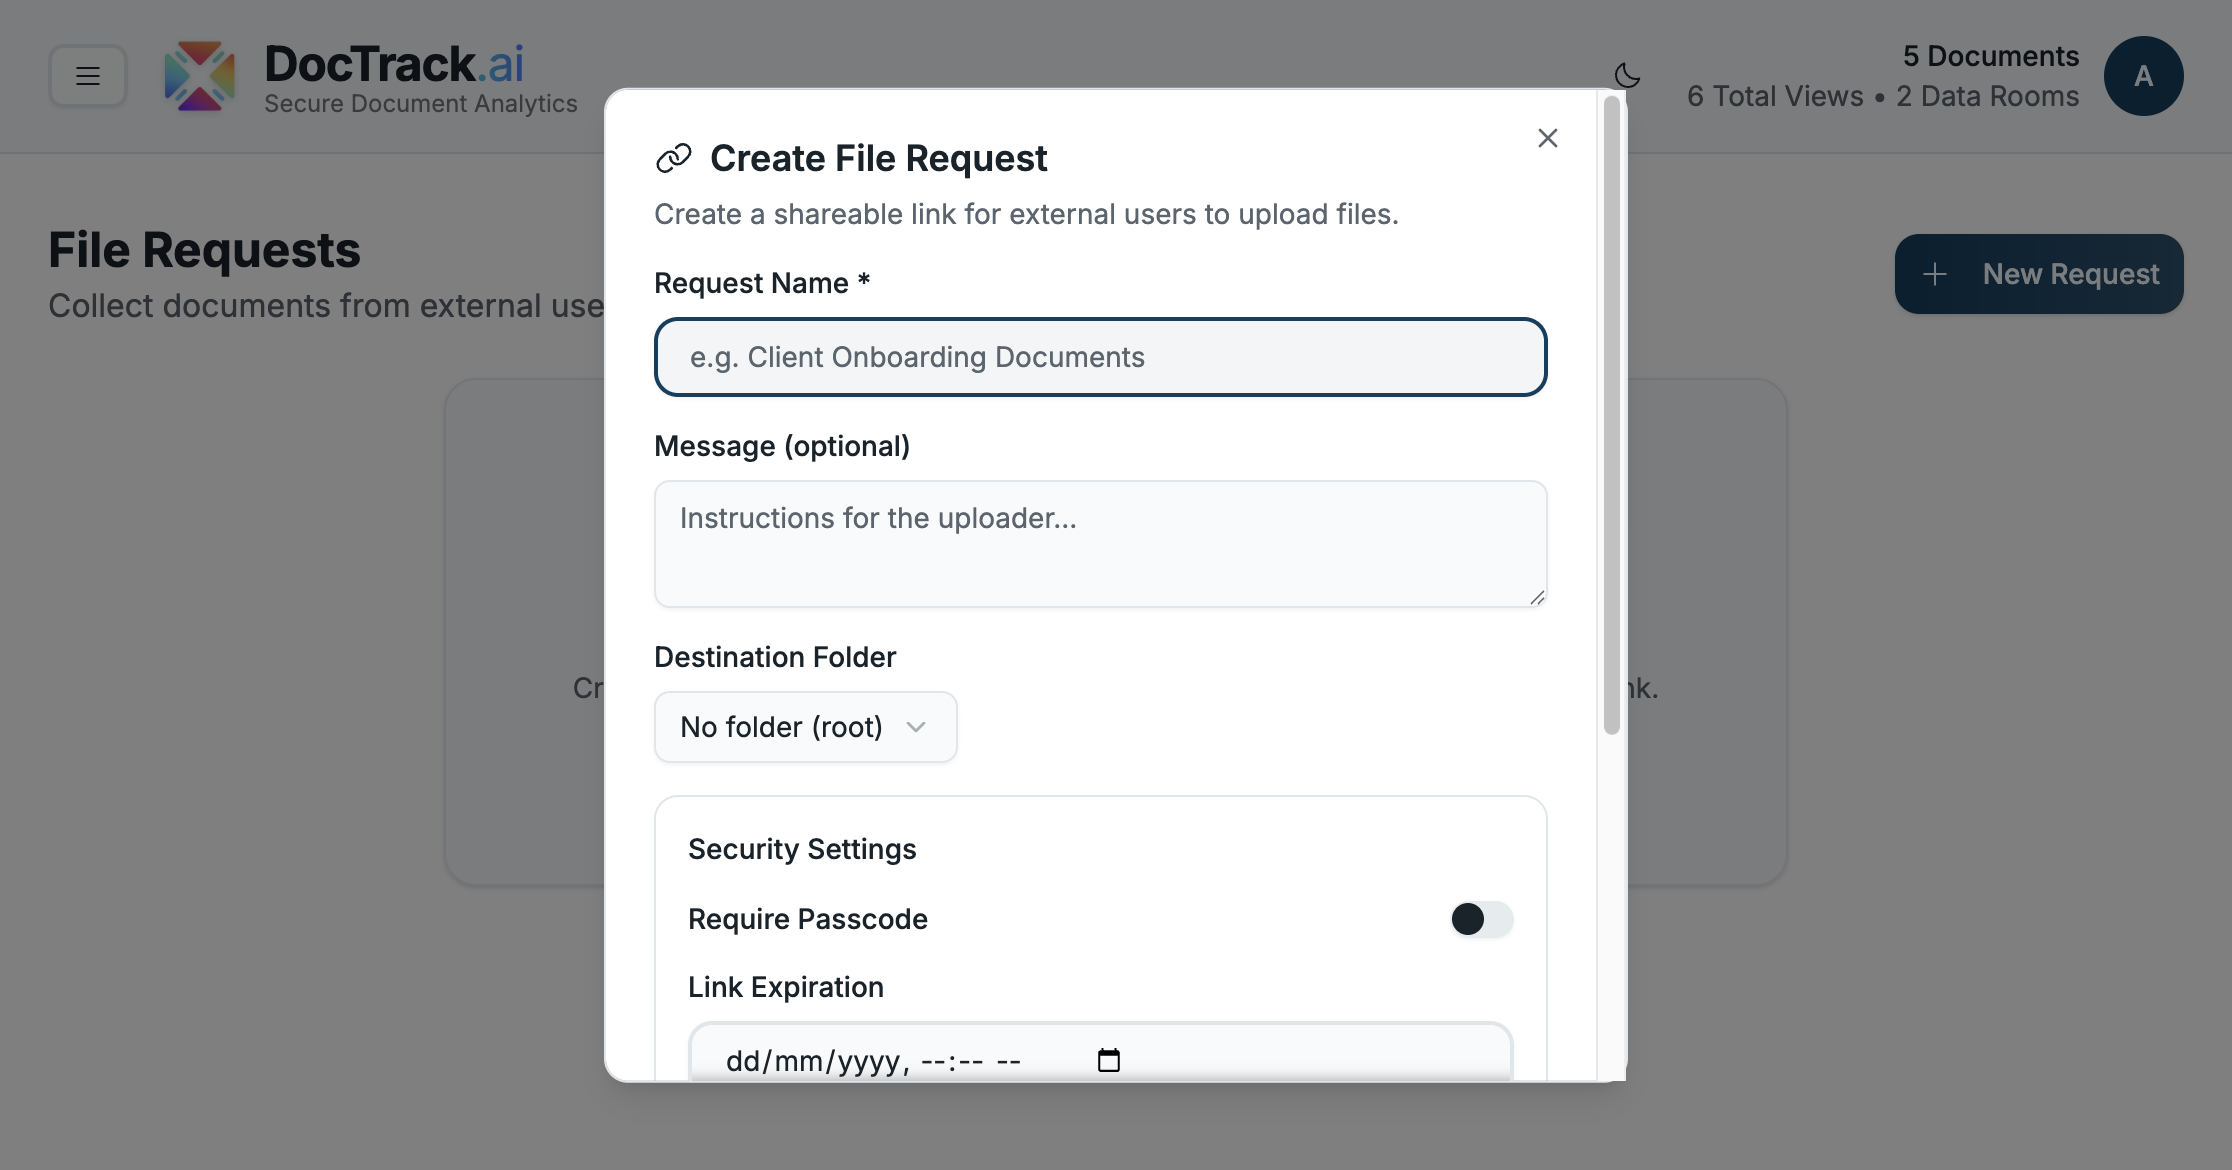
- Open the File Requests section.
- Click New Request (or Create File Request).
- Fill in the request details and security settings.
| Field | Description |
|---|---|
| 🏷️ Request Name (required) | A label for the request (e.g. "Client Onboarding Documents"). |
| 💬 Message (optional) | Instructions shown to the uploader. |
| 📂 Destination Folder | The folder where uploaded files will land — defaults to No folder (root). |
🛡️ Security Settings
- 🔐 Require Passcode — protect the upload link with a passcode.
- ⏳ Link Expiration — set a date and time after which uploads are no longer accepted.
- 🔢 Max Files — limit how many files can be uploaded through the request.
🎨 Custom Branding
Toggle Custom Branding to apply your logo and colors to the upload page the recipient sees.
✅ Sharing & Receiving
After you click Create Request, DocTrack generates a shareable upload link. Send it to your recipient — when they upload files, the documents appear in the destination folder you chose, ready to preview, share, and analyze.
💡 Tip: Use a dedicated destination folder per request so incoming files stay organized.
Next: dive into your numbers with the Analytics Dashboard. 🚀